Tag Archives: Pen Settings

Pen 0 and Pen -1

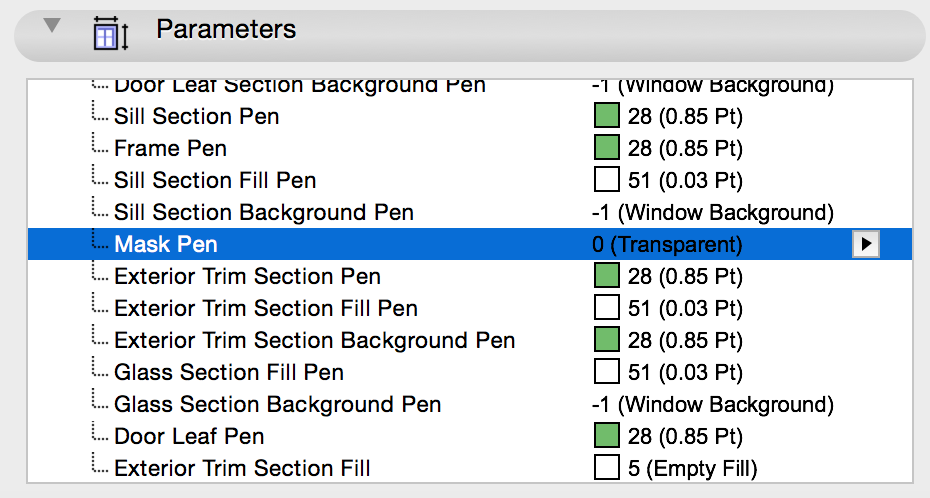
Pen 0 and Pen -1 have specific functions, as background pens for fills; to show transparent or solid white but matches the background (regardless of work environment customization of the background color).

These pens can be a bit dangerous if applied to anything but the background pen of a fill or cut element.

Screen Shot 2019-02-04 at 7.42.40 AM.png

In the case of a file audited this morning, there were over 500 3d elements using Pen -1 as the foreground and, in some cases, the contour pen of model elements. This resulted in a file prone to crashes, and lengthy error warning cycles.

I was able to fix these by using a combination of the element ID manager and the Find and Select tool. Read about that here.

In the end, it is best to avoid pens -1 and 0 whenever possible. Pen -1 should be replaced in your workflow habits with pen 91 or 51. Those pens are always white for all pen sets. In many cases, especially with drafting and cover fills, pen 0 is unavoidable, but should still be used carefully, so as to not apply it to anything other than background pen settings.

Layout Book View Settings

The layout book has global view settings for items placed onto the layouts. These view settings include layers and pen set, and once changed are applied to all layouts.

Drawings and Figures placed to layouts use the source view or Drawing Elements pen and layer settings; but elements drawn directly on the layout (Lines, Polylines, Fills, Splines, Text, Labels, etc.) use the layout books layer and pen settings.

Unfortunately there is no direct control for the pens and layers of the layout book. If you notice elements on the layout are missing (hidden layer) or using the wrong pen set as in the following image:

Screen Shot 2015-04-15 at 2.42.25 PM

Go directly to the layer or pen settings under Options > Element Attributes. Notice the drop down menu includes “(Layout Book)…” after the normal menu option for these settings:

Screen Shot 2015-04-08 at 2.32.54 PMScreen Shot 2015-04-08 at 2.19.40 PM

Changing the settings here changes the Pen Set & Layer Combination for the entire layout book:

Screen Shot 2015-04-15 at 2.42.41 PM


Window Masking Fills

If your windows have a fill that is being changed by the renovation filter options or a background fill that is masking out elements below the window that you want to see on your plan, you can turn off the fills by changing them to the transparent pen.

 before

In the Cadimage Window Selection Settings go to the Parameters tab, then scroll down to 9 Appearance. Next look for the Mask Pen settings and change this pen to 0(Transparent).

parameters

In Cadimage Windows/Doors for 17 there is only one Mask Pen, for AC18 you will have the option to have a background and foreground pen.

after

The result for both AC17 & 18 of changing the Mask Pen (Background Pen) to Pen 0 will be a sill view in plan that is transparent and will not be changed by the Renovation Override Styles.

EDIT SELECTION SETS

The Selection Set Pallet

The Selection set pallet is often forgotten; and its features have certainly been growing over the past few software versions. Look through some of the options available for editing multiple element types in one click. We can change multiple element types Layers, Pens, IFC function, Inter/Exter Location, Renovation Status and Structural Function.

The Renovation Status function is Incredibly helpful when assigning elements to be demolished early in a remodel project.

If you do not know about this pallet it can be accessed directly through your Info Box, it is the hammer icon to the left of your layer drop down. Play around with this if you don’t use it already, it is a huge time saver!

Screen Shot 2014-09-19 at 9.58.33 AM

SHOWING WHAT IS PLACED BELOW THE ROOF

Cadimage Coverings Pen Settings

When you need to show what is below your roof and have a Cadimage Covering applied you will need a transparent background pen for the plan view.Screen Shot 2014-09-18 at 11.32.20 AM

Select the covering and open the Selection Settings. Under the Cladding tab go to the view attributes and set the background pen to 0 Transparent. This can be repeated for edge conditions pen settings to create “transparent” flashing, gutters, ridge and barge elements as well.Screen Shot 2014-09-18 at 11.33.05 AM

The result is a fully transparent roof element in floor plan view.  This will allow you to view elements below the covering in model space as well as on the sheet with multiple layered plans.

Screen Shot 2014-09-18 at 11.33.23 AM